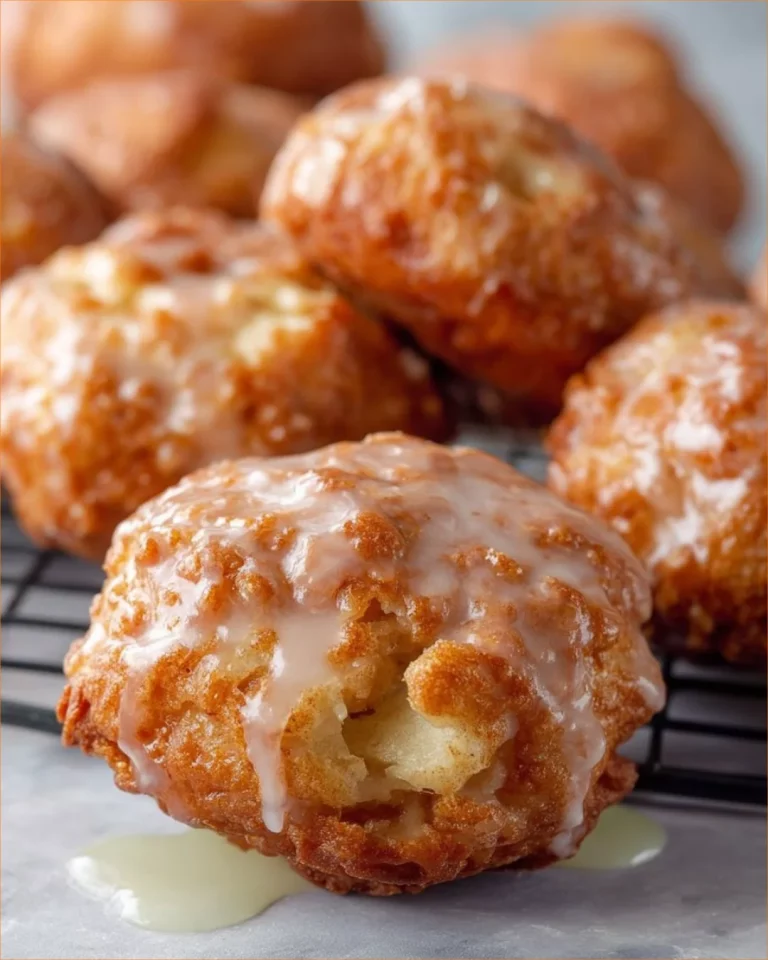
Deliciously Soft Baked Apple Fritters You Can Make at Home
There’s something about baked apple fritters that brings warmth and comfort to your kitchen. These delightful treats are all the rage right now, and for good reason! They strike the perfect balance between fluffy and slightly crisp, with the tartness of diced apples mingling beautifully with just the right amount of sweetness. Plus, they’re a fantastic way to treat yourself without the fuss of frying. Let’s bring this cozy recipe to life!
What You’ll Need for Baked Apple Fritters
Gather these simple ingredients to whip up your delicious baked apple fritters:
- 2 cups all-purpose flour (240g)
- 1/2 cup brown sugar (100g)
- 1 tablespoon baking powder
- 1 teaspoon salt
- 1 teaspoon ground cinnamon
- 1/2 cup cold butter (113g)
- 1 1/2 cups finely diced apples (about 2 medium apples)
- 3/4 cup milk (180ml)
- For the broiled glaze:
- 1 cup powdered sugar (120g)
- 3 tablespoons milk or apple juice (45ml)
- For the finishing glaze:
- 1 cup powdered sugar (120g)
- 2 tablespoons milk (30ml)
How to Make Baked Apple Fritters
Follow these easy steps to create your tasty fritters:
- Preheat your oven to 400°F (200°C).
- In a large bowl, whisk together the flour, brown sugar, baking powder, salt, and cinnamon until well combined.
- Cut the cold butter into the dry ingredients using a pastry cutter or your fingers until the mixture resembles small peas.
- Gently stir in the diced apples, then add the milk. Mix just until everything comes together—don’t overmix!
- Drop spoonfuls of the batter onto a greased baking sheet, leaving enough space between each fritter.
- Bake for about 12 minutes or until they are lightly browned.
- While the fritters are baking, prepare the broiled glaze by mixing the powdered sugar and apple juice (or milk) until smooth.
- Once the fritters are done, brush them with the glaze and broil for 2 to 4 minutes until the glaze is nicely browned.
- Let the fritters cool on a wire rack.
- For the finishing glaze, whisk together the powdered sugar and milk until smooth, then brush it over the warm fritters.
Why Everyone Is Loving This Baked Apple Fritters Recipe
These baked apple fritters are trending right now because they blend the joy of classic comfort foods with modern, healthier baking techniques. No frying means less mess and a lighter treat without giving up on flavor. Plus, they’re perfect for cozy fall mornings or as an afternoon snack when the craving for something sweet hits!
Best Ways to Serve It
You can enjoy these beautifully baked apple fritters any time of day! They’re perfect for breakfast alongside a warm cup of coffee or tea. If you’re looking to elevate them, serve them with a side of whipped cream or a drizzle of caramel sauce for a special touch. These fritters also make for a delightful party treat—everyone loves a delicious snack that’s easy to enjoy!
Helpful Tricks
- Storage: Keep any leftovers in an airtight container at room temperature for up to 2 days. For longer storage, place them in the fridge for about a week. They freeze well, too! Just thaw and warm them in the oven.
- Flavor Variations: Feel free to add nuts like walnuts or pecans for extra crunch, or throw in some raisins for an added sweet surprise.
- Topping Swaps: Instead of the apple juice for the broiled glaze, try using a splash of vanilla extract for a different flavor profile.
Baked Apple Fritters FAQs
Can I make these fritters ahead of time?
Yes! You can prepare the batter and store it in the fridge for a day. Simply bake them fresh when you’re ready to enjoy.
What type of apples work best?
Any firm apple will do, but Granny Smith and Honeycrisp are fantastic options for a nice balance of tartness and sweetness.
Can I use whole wheat flour instead?
Yes, you can substitute whole wheat flour, but the fritters will be denser. You might want to add a bit more milk to achieve the right consistency.
Now that you have this delicious recipe for baked apple fritters, it’s time to get cooking! Enjoy making them at home and savor every bite of this delightful treat!