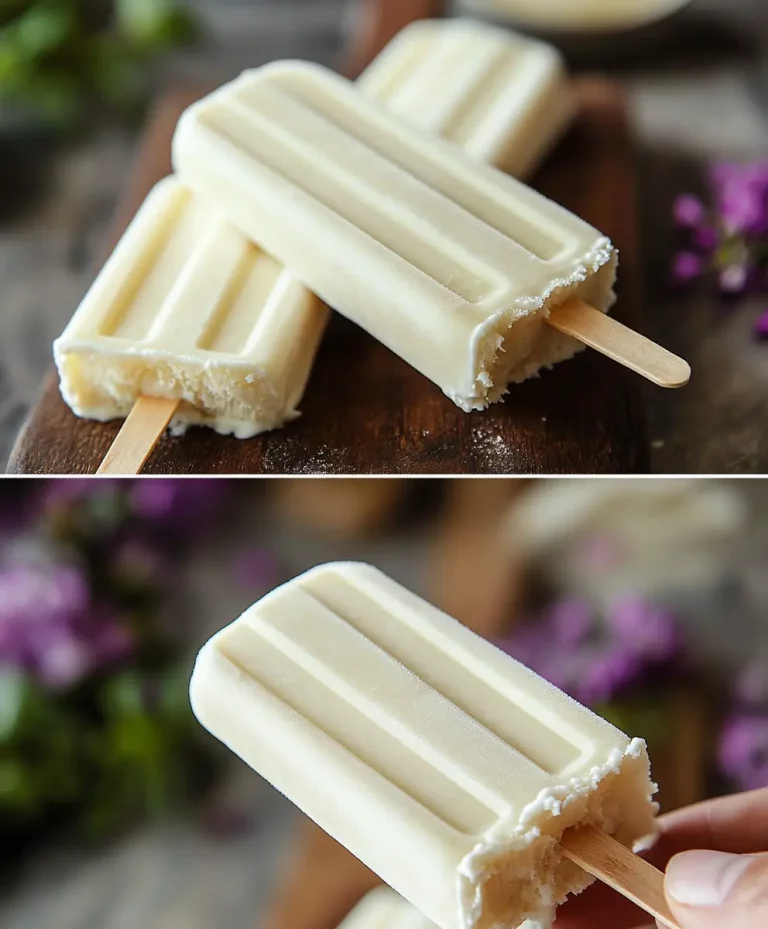
Nothing beats the refreshing taste of homemade vanilla ice cream bars on a hot summer day. These creamy, dreamy frozen treats are surprisingly easy to make at home and taste infinitely better than store-bought versions. With just a handful of simple ingredients and minimal preparation time, you can create professional-quality ice cream bars that will impress family and friends alike.
Ingredients
- 160g / 2/3 cup whipping heavy cream (35% fat content)
- 200g / 3/4 cup plus 2 tablespoons whole milk
- 35g / 1/4 cup milk powder
- 15g / 1 tablespoon granulated sugar
- 10g / 2 teaspoons sweetened condensed milk
- 10g / 2 teaspoons corn starch
- 2g / 1/2 teaspoon vanilla extract
Equipment Needed
- Medium saucepan
- Whisk
- Ice cream bar molds or popsicle molds
- Wooden popsicle sticks
- Fine-mesh strainer (optional)
Step-by-Step Instructions
Step 1: Prepare the Base Mixture
In a medium saucepan, combine the whipping cream, milk, milk powder, sugar, and condensed milk. Using a whisk, mix all ingredients thoroughly until the milk powder is completely dissolved and no lumps remain. This creates the foundation of your creamy ice cream bars.
Step 2: Heat and Thicken
Place the saucepan over low heat and begin warming the mixture slowly. Stir continuously to prevent the bottom from scorching. As the mixture begins to warm, gradually add the corn starch while whisking constantly to prevent lumps from forming.
Step 3: Cook Until Thickened
Continue cooking the mixture over low heat, stirring constantly, until it begins to thicken to a custard-like consistency. This process typically takes 8-10 minutes. The mixture should coat the back of a spoon when ready. Do not allow it to boil, as this can cause curdling.
Step 4: Add Vanilla and Cool
Remove the saucepan from heat and immediately stir in the vanilla extract. Allow the mixture to cool for 5-10 minutes, stirring occasionally to prevent a skin from forming on top. For an ultra-smooth texture, strain the mixture through a fine-mesh strainer.
Step 5: Fill the Molds
Carefully pour the cooled mixture into your ice cream bar molds, leaving about 1/4 inch of space at the top to allow for expansion during freezing. Tap the molds gently on the counter to release any air bubbles.
Step 6: Insert Sticks and Freeze
Insert wooden popsicle sticks into each mold, ensuring they’re centered and straight. Place the molds in the freezer and freeze for at least 4 hours, though overnight freezing produces the best results and firmest texture.
Step 7: Unmold and Serve
To remove the ice cream bars, run warm water over the outside of the molds for 10-15 seconds, then gently pull the bars out by their sticks. Serve immediately or store in freezer bags for up to one month.
Nutritional Information
Per Ice Cream Bar (makes 6 bars):
- Calories: 95
- Fat: 6.2g
- Saturated Fat: 3.8g
- Carbohydrates: 8.1g
- Sugar: 7.3g
- Protein: 2.9g
- Calcium: 85mg
- Vitamin A: 210 IU
Timing Guide
- Preparation Time: 15 minutes
- Cooking Time: 10 minutes
- Cooling Time: 10 minutes
- Freezing Time: 4-8 hours
- Total Time: 5-9 hours (mostly hands-off)
Recipe Variations and Substitutions
Flavor Variations
Chocolate Vanilla Swirl: Add 2 tablespoons of melted dark chocolate to half the mixture before molding, creating beautiful marbled patterns.
Strawberry Vanilla: Blend 50g of fresh strawberries and fold into the cooled mixture for a fruity twist.
Coffee Vanilla: Dissolve 1 teaspoon of instant coffee in the warm milk mixture for a sophisticated adult flavor.
Coconut Vanilla: Replace 50ml of milk with coconut milk and add 1 tablespoon of shredded coconut for tropical flair.
Dietary Substitutions
Dairy-Free Version: Substitute heavy cream with coconut cream, use oat or almond milk instead of dairy milk, and replace milk powder with coconut milk powder.
Sugar-Free Option: Replace sugar with an equal amount of erythritol or stevia blend designed for baking.
Low-Fat Alternative: Use light cream instead of heavy cream and skim milk, though the texture will be less rich.
Vegan Version: Use coconut cream, plant-based milk, coconut condensed milk, and ensure vanilla extract is alcohol-based rather than dairy-derived.
Storage and Serving Tips
Store homemade vanilla ice cream bars in individual freezer bags or wrapped in parchment paper to prevent freezer burn. They maintain optimal quality for up to one month when properly stored. For best texture, remove from freezer 2-3 minutes before serving to allow slight softening.
These ice cream bars pair wonderfully with fresh berries, can be dipped in melted chocolate for an extra indulgent treat, or crushed and used as a topping for desserts.
Frequently Asked Questions
Can I make these ice cream bars without corn starch?
Yes, you can omit the corn starch, though the texture will be slightly less creamy and more prone to ice crystals. For best results, consider adding an extra tablespoon of milk powder to help maintain smoothness and structure.
Why are my ice cream bars too hard to bite?
This usually occurs when the mixture doesn’t contain enough fat or sugar, both of which help maintain a softer texture when frozen. Ensure you’re using heavy cream with at least 35% fat content, and don’t reduce the sugar content too drastically, as it acts as a natural antifreeze.
How do I prevent ice crystals from forming?
Ice crystals form when water separates from the other ingredients. To prevent this, ensure your mixture is thoroughly combined, don’t skip the corn starch (which helps bind everything together), and freeze the bars as quickly as possible. Covering the molds with plastic wrap also helps prevent freezer burn.
Can I double this recipe?
Absolutely! This recipe scales well for larger batches. When doubling, use a larger saucepan and allow extra time for the mixture to thicken properly. The cooking process may take 12-15 minutes instead of 8-10 minutes.
What’s the best way to unmold stubborn ice cream bars?
If bars are difficult to remove, try dipping the entire mold in warm (not hot) water for 15-20 seconds, or wrap a warm, damp towel around the mold. Alternatively, let them sit at room temperature for 2-3 minutes before attempting to unmold.
This homemade vanilla ice cream bar recipe delivers creamy, professional-quality results with minimal effort. The combination of heavy cream, milk powder, and a touch of condensed milk creates an incredibly smooth texture that rivals commercial ice cream bars, while the simple vanilla flavor serves as the perfect base for countless variations. Whether enjoyed on their own or customized with your favorite mix-ins, these frozen treats are sure to become a household favorite.