Introduction
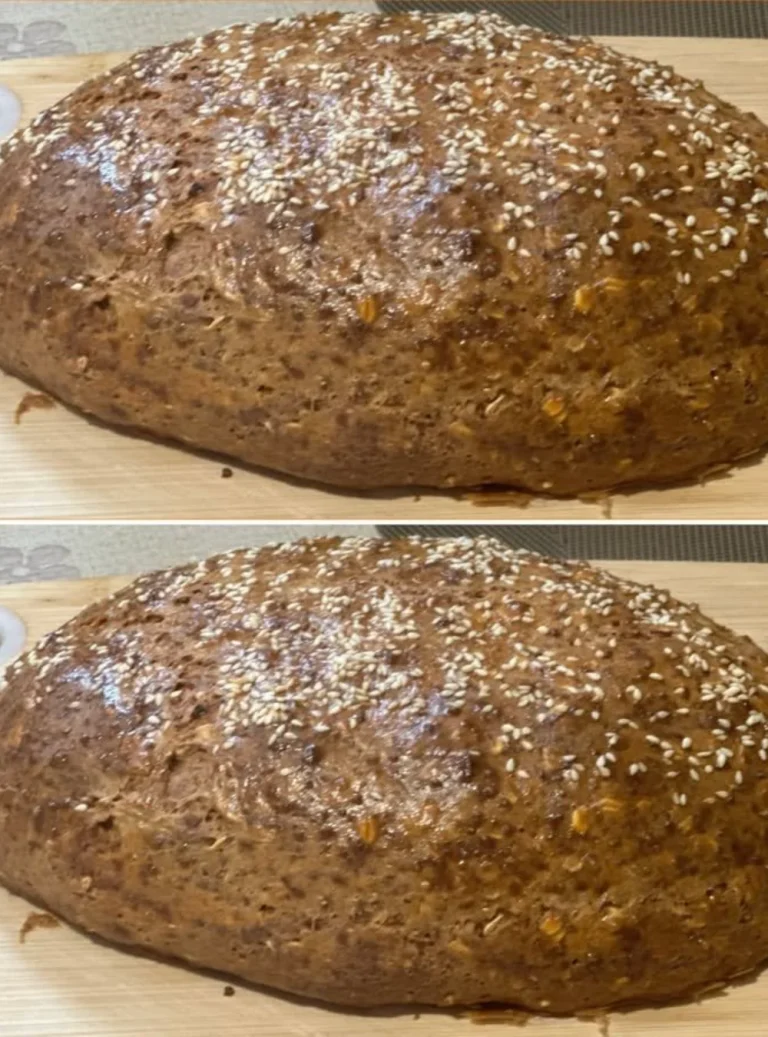
Homemade healthy bread is a delightful way to incorporate nutritious grains and seeds into your diet, providing both flavor and health benefits. This wholesome loaf is crafted with whole wheat flour, rich in dietary fiber, and packed with a variety of seeds that add a delightful crunch. Each bite is not only satisfying but also nutritious, making it an ideal companion for breakfast, lunch, or even a snack. Whether slathered with your favorite spread or served alongside a hearty soup, this bread elevates any meal. Plus, it’s incredibly easy to make, allowing you to enjoy freshly baked bread in the comfort of your own home. Say goodbye to store-bought loaves laden with preservatives, and embrace this healthy alternative that’s sure to become a staple in your kitchen.
Why You’ll Love This Recipe
- Wholesome ingredients that nourish your body.
- A delightful crispy crust with a soft interior.
- Packed with seeds that provide great texture and added nutrients.
- Easy to customize with various grains and toppings.
- Perfect for sandwiches, toast, or as a side with soups and salads.
- Free from preservatives and artificial ingredients.
Ingredients
- 2 ¾ cups (350 g) whole wheat flour
- 1 cup (250 ml) water
- 2 tablespoons (30 ml) olive oil
- 1 teaspoon salt
- 1 teaspoon active dry yeast
- 1 teaspoon honey or agave syrup (optional)
- ½ cup (100 g) assorted seeds (e.g., flaxseeds, sunflower seeds)
Ingredient Notes
- Whole Wheat Flour: Provides fiber and a nutty flavor. You can substitute with spelt or rye flour for a different taste.
- Active Dry Yeast: Essential for leavening the bread. Ensure it’s fresh for best results.
- Olive Oil: Adds richness and helps keep the bread moist. You can also use melted coconut oil or melted butter.
- Seeds: Feel free to experiment with different seeds like chia seeds, pumpkin seeds, or sesame seeds to suit your taste.
Kitchen Tools Needed
- Large mixing bowl
- Measuring cups and spoons
- Wooden spoon or spatula
- Clean kitchen towel
- Loaf pan
- Oven
Step-by-Step Instructions
- In a large mixing bowl, combine the whole wheat flour, active dry yeast, and salt. Mix well to ensure even distribution.
- In a separate bowl, mix together the water, olive oil, and honey (if using) until blended.
- Gradually pour the liquid mixture into the dry ingredients, stirring continuously until a smooth dough forms.
- Fold in the assorted seeds until evenly distributed throughout the dough.
- Cover the bowl with a clean kitchen towel and place it in a warm area. Allow the dough to rise for about 1 hour, or until it has doubled in size.
- Preheat your oven to 425°F (220°C). Lightly grease your loaf pan.
- Once the dough has risen, punch it down gently to release excess air, then transfer it to the prepared loaf pan.
- Bake in the preheated oven for approximately 30 minutes, or until the top is golden brown and sounds hollow when tapped on the bottom.
- Remove the bread from the oven and let it cool on a wire rack before slicing.
Cooking Tips
- Make sure your yeast is active by checking the expiration date. If in doubt, proof it by adding it to warm water with a pinch of sugar; it should bubble within a few minutes.
- Allow your dough to rise in a draft-free area to ensure proper fermentation.
- For a flavorful crust, consider brushing the top of the dough with a bit of water before baking.
- Store your bread in a sealed bag to keep it fresh longer, or slice and freeze for later use.
- Experiment with adding herbs or spices to the flour mixture to enhance flavor.
Variations
- Herb-Infused: Add dried herbs like rosemary or thyme to the dough for added flavor.
- Cheese Bread: Incorporate shredded cheese such as cheddar or feta into the dough for a savory twist.
- Fruit and Nut: Mix in chopped nuts and dried fruits like walnuts or raisins for a hearty, sweet option.
- Gluten-Free: Use a gluten-free flour blend to make this loaf suitable for gluten-sensitive diets.
Serving Suggestions
Sliced healthy bread can be enjoyed in numerous ways. Spread it with butter or nut butter for breakfast, use it for sandwiches filled with your favorite fillings, or toast it and serve alongside soups and salads.
Storage Instructions
To store leftover bread, wrap it in plastic wrap or place it in an airtight container at room temperature for up to 3 days. For longer storage, slice the bread and freeze it.
Reheating Tips
To reheat, wrap individual slices in aluminum foil and warm them in a preheated oven at 350°F (175°C) for about 10 minutes. You can also toast slices in a toaster until warmed through and crispy.
Nutrition Estimate
- Calories: 150 per slice (based on 12 servings)
- Protein: 5 g
- Carbohydrates: 25 g
- Fat: 4 g
Recipe Summary Card
- Prep Time: 15 minutes
- Cook Time: 30 minutes
- Total Time: 1 hour 45 minutes (including rising time)
- Servings: 12 slices
- Cuisine: Healthy
- Course: Bread
- Calories: 150
Frequently Asked Questions
-
Can I use all-purpose flour instead of whole wheat flour?
Yes, you can use all-purpose flour, but the texture and nutritional value will differ. -
Is it necessary to use honey or agave syrup?
No, it’s optional. You can omit it or substitute with sugar if preferred. -
How do I know if my bread is done baking?
The bread should be golden brown, and it should sound hollow when tapped on the bottom. -
Can I add more seeds or nuts to the recipe?
Absolutely! Just ensure not to overload the dough to maintain proper consistency. -
Is this bread suitable for a vegan diet?
Yes, this recipe is vegan as it contains no eggs or dairy.
Conclusion
This healthy bread recipe is more than just a loaf; it’s a versatile staple that encourages nutritious eating while delighting your taste buds. Try it out and enjoy the sense of accomplishment that comes from baking your own bread, knowing exactly what goes into it and how wholesome it is. Whether you stick to the classic version or get creative with the suggested variations, you’ll find this recipe a nourishing addition to your culinary repertoire. Enjoy your baking adventure!