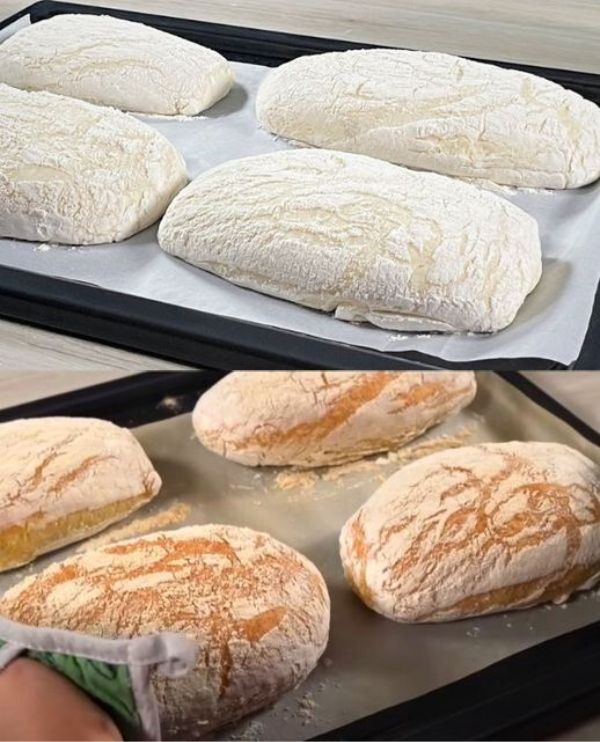
There’s something magical about the aroma of freshly baked bread wafting through your home. The warmth, the softness, the taste – it’s hard to beat. But have you ever thought about making your own bread? Don’t worry if you’re a newbie in the kitchen; I’ve got you covered with a foolproof recipe for delicious homemade bread.
1. Getting Started: Ingredients
To embark on your bread-making journey, you’ll need the following ingredients:
- 1 2/3 cups warm water (400 ml)
- 2 teaspoons sugar
- 8 grams dry yeast
- 4 cups wheat flour (500 grams)
- 2 teaspoons salt
2. Activating the Yeast
First things first, let’s wake up that yeast! In a bowl, combine 100 ml of warm water, 2 teaspoons of sugar, dry yeast, and a bit of flour. Give it a good mix and let it sit for about 20 minutes to activate the yeast.
3. Mixing the Dough
Once the yeast is nice and bubbly, sift your wheat flour into a separate bowl. Slowly add the activated yeast mixture while kneading quickly with your hands. Gradually pour in the rest of the warm water and keep stirring until everything comes together. Don’t forget to add salt for flavor!
4. Kneading and Resting
Now it’s time to give your dough some love. Grab an electric mixer and mix it up for at least 5 minutes, just like you would with cake batter. Cover the bowl with a cloth and let the dough rest in a warm place for 20 minutes. This step is crucial for the dough to rise.
5. Shaping the Loaves
After the first rest, give the dough a quick knead to incorporate air. Let it rest again for 15 minutes, then repeat the process with wet hands. Divide the dough into three equal parts, shape them into loaves, and place them on a baking tray lined with parchment paper. Cover them with a cloth and let them rest for another 15 minutes.
6. Baking the Bread
Preheat your oven to 190 degrees Celsius. Once the loaves have rested, pop them in the oven and bake for 30 minutes. You’ll know they’re ready when they’re golden brown and sound hollow when tapped on the bottom.
7. Cooling and Enjoying
Once your bread is beautifully baked, resist the urge to dive right in! Let it cool on a wire rack for a bit before slicing. Trust me; it’s worth the wait. Then, slather on your favorite toppings or enjoy it as is!
8. Frequently Asked Questions (FAQs)
Q1: Can I use instant yeast instead of dry yeast?
Yes, you can! Simply skip the activation step and mix the instant yeast directly with the flour.
Q2: Can I use all-purpose flour instead of wheat flour?
While wheat flour gives a heartier texture, you can substitute all-purpose flour if that’s what you have on hand.
Q3: My dough isn’t rising. What did I do wrong?
Check the expiration date of your yeast, ensure your water isn’t too hot (or cold), and give the dough enough time to rise in a warm environment.
Q4: Can I freeze the dough for later use?
Absolutely! Shape the dough into loaves, wrap them tightly in plastic wrap, and freeze. When ready to bake, thaw in the refrigerator overnight, then let them come to room temperature before baking.
Q5: How do I store homemade bread?
To keep your bread fresh, store it in a paper bag at room temperature for up to 3 days. For longer storage, wrap it in plastic wrap and freeze for up to 3 months.
Whether you’re a seasoned baker or a kitchen novice, making your own bread is a rewarding experience. With this simple recipe and a little patience, you’ll be enjoying delicious homemade bread in no time!
