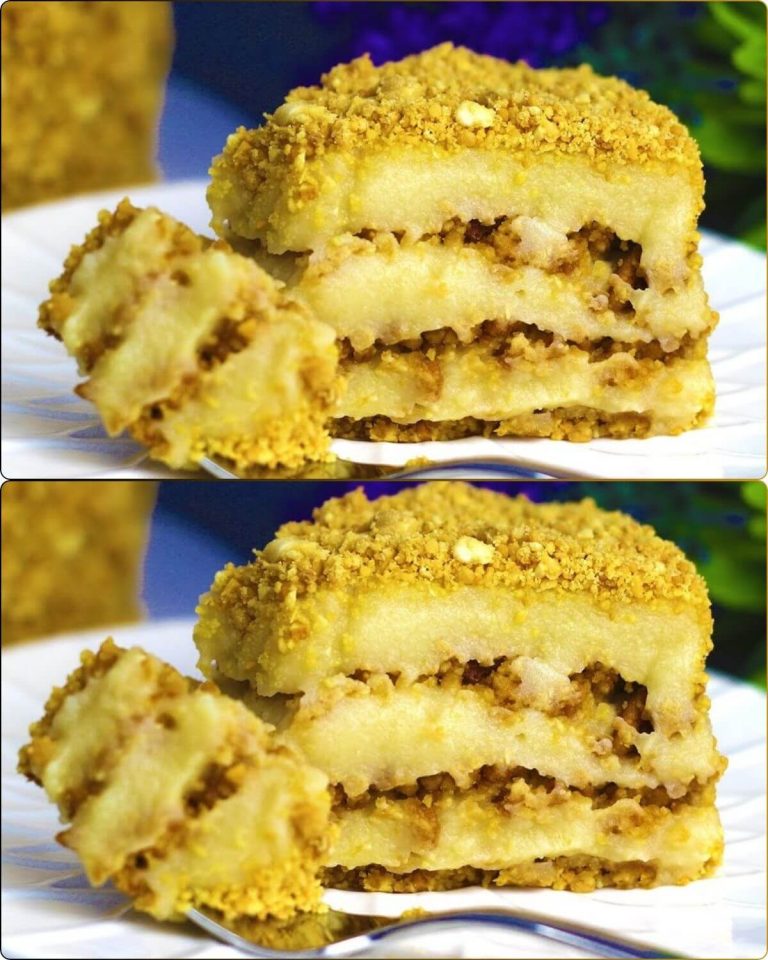
Indulging in delicious desserts while maintaining a healthy lifestyle seems like a distant dream, but what if I told you it’s possible? Yes, you read it right! Today, I’m unveiling a delightful recipe for a healthy cake that’s not only sugar-free but also low-carb and lactose-free. This apple and peanut cake will tantalize your taste buds without compromising your health goals.
Introduction
Are you craving something sweet but want to stick to your healthy eating plan? Look no further! This recipe will revolutionize the way you perceive desserts. With just three wholesome ingredients—apples, coconut oil, and peanuts—you can whip up a cake that’s both nutritious and delicious. Follow along as we embark on this culinary adventure!
Ingredients
To embark on this journey of creating a guilt-free indulgence, gather the following ingredients:
- Apples (amount as needed)
- 1/4 cup coconut oil
- 12 ounces peanuts
Now, let’s dive into the preparation steps!
Preparation of Apple Puree
Step 1: Preparing the Apples
Begin by preheating your oven to 180 degrees Celsius. Take your apples, slice them in half, and remove the core.
Step 2: Baking the Apples
Place the halved apples on a baking tray and let them bake for about 30 minutes until they turn tender and slightly caramelized.
Step 3: Blending the Apple Puree
Once baked, scoop out the pulp from the apples, approximately 710 grams, and transfer it into a large bowl. Add 60 grams of coconut oil, then blend the mixture until it reaches a smooth, creamy consistency.
Making Peanut Layer
Step 4: Toasting and Blending Peanuts
Toast 340 grams of peanuts until they’re golden brown and aromatic. Once cooled, blend 340 grams of the toasted peanuts until they form a coarse powder.
Assembling the Cake
Step 5: Layering Process
In a springform cake pan, sprinkle about 90 grams of the blended peanuts to form the first layer. Then, spread 240 grams of the apple puree mixture evenly over the peanuts, smoothing it out with a spatula.
Step 6: Repeat the Layers
Continue layering the toasted peanuts and apple puree mixture until you’ve used up all the ingredients, ensuring each layer is evenly distributed.
Chilling the Cake
Step 7: Refrigeration
Cover the cake pan with cling film and place it in the refrigerator for approximately 5 to 6 hours, allowing the flavors to meld together and the cake to set perfectly.
Serving and Enjoyment
Step 8: Final Touches
After chilling, remove the cake from the refrigerator, take off the cling film and springform pan, and sprinkle the top and sides with additional chopped roasted peanuts for a decorative finish.
Step 9: Serving
Slice your apple and peanut cake into generous portions and serve it to your delighted guests or enjoy a guilt-free indulgence all by yourself!
FAQs
1. Can I use any type of apple for this recipe?
Yes, you can use any variety of apple for this recipe, depending on your preference. However, sweeter apples like Gala or Fuji will yield a naturally sweeter cake.
2. Can I substitute coconut oil with another type of oil?
While coconut oil adds a unique flavor to the cake, you can substitute it with melted butter or any other neutral-tasting oil if preferred.
3. Is it necessary to toast the peanuts before blending?
Toasting the peanuts enhances their flavor and brings out their natural oils, resulting in a richer taste. However, if you’re short on time, you can skip this step, but the cake might have a slightly different flavor profile.
4. How long can I store the apple and peanut cake?
You can store the cake in an airtight container in the refrigerator for up to 3-4 days. Make sure to consume it within this timeframe for the best taste and freshness.
5. Can I add other toppings or decorations to the cake?
Feel free to get creative with toppings! You can add fresh fruit slices, a drizzle of honey or maple syrup, or even a dusting of cocoa powder for an extra touch of indulgence.
Conclusion
With this simple yet delectable recipe, you can satisfy your sweet cravings without derailing your healthy eating goals. By using wholesome ingredients like apples, coconut oil, and peanuts, you can create a cake that’s both nutritious and indulgent. So go ahead, treat yourself to a slice of this guilt-free delight!
