Scones are a beloved classic in the world of baking, known for their tender crumb and delightful taste. This comprehensive guide will walk you through the process of making the best soft and tasty scones, ensuring a perfect result every time. With detailed instructions, a touch of history, and useful tips, you’ll be well on your way to baking scones that will impress even the most discerning palates.
Ingredients
- 3 cups plain flour
- 1/2 level tsp salt
- 120 g butter
- 1/2 cup fresh milk
- 3 tsp baking powder
- 1/2 tsp baking soda
- 1/4 cup powdered milk (optional)
- 1/2 cup white sugar
- 1 tsp vanilla essence
- 2 large eggs
Step-by-Step Instructions to Bake Soft and Tasty Scones
1. Preparing the Oven and Baking Trays
Start by preheating your oven to 180°C (350°F). This ensures that your scones will bake evenly and achieve that perfect golden brown color. While the oven is heating up, grease two baking trays with a bit of butter or line them with parchment paper to prevent the scones from sticking.
2. Mixing the Dry Ingredients
In a large mixing bowl, sift together the plain flour, salt, baking powder, baking soda, and powdered milk. Sifting helps to aerate the flour and ensures that all the dry ingredients are well combined, leading to a lighter and fluffier scone.
3. Incorporating the Butter
Cut the butter into small cubes and add it to the flour mixture. Using your fingers, work the butter into the flour until the mixture resembles coarse breadcrumbs. This step is crucial for creating the crumbly texture that scones are known for. The butter should be well distributed throughout the flour but still retain small pieces that will melt during baking, creating pockets of tenderness.
4. Preparing the Wet Ingredients
In a medium-sized bowl, whisk together the eggs, white sugar, vanilla essence, and milk. Make sure the sugar is fully dissolved and the mixture is smooth and well combined.
5. Combining the Wet and Dry Ingredients
Pour the egg mixture into the flour mixture and stir until just combined. Be careful not to overmix, as this can result in tough scones. The dough should be slightly sticky but manageable.
6. Shaping the Dough
Turn the dough out onto a lightly floured work surface. Knead it gently a few times to bring it together, then shape it into a round. Roll the dough out to a thickness of about 2.5 cm (1 inch). Using a 7.5 cm (3 inch) biscuit cutter or a small glass, cut out the scones and place them on the prepared baking trays. Gather any scraps of dough, gently knead them together, and cut out additional scones.
7. Adding the Finishing Touches
In a small bowl, beat the remaining egg. Brush the top of each scone with the beaten egg to give them a beautiful golden color when baked.
8. Baking the Scones
Place the baking trays in the preheated oven and bake for 15 to 20 minutes or until the scones are golden brown and cooked through. To check if they are done, insert a toothpick into the center of a scone; if it comes out clean, the scones are ready.
9. Cooling and Serving
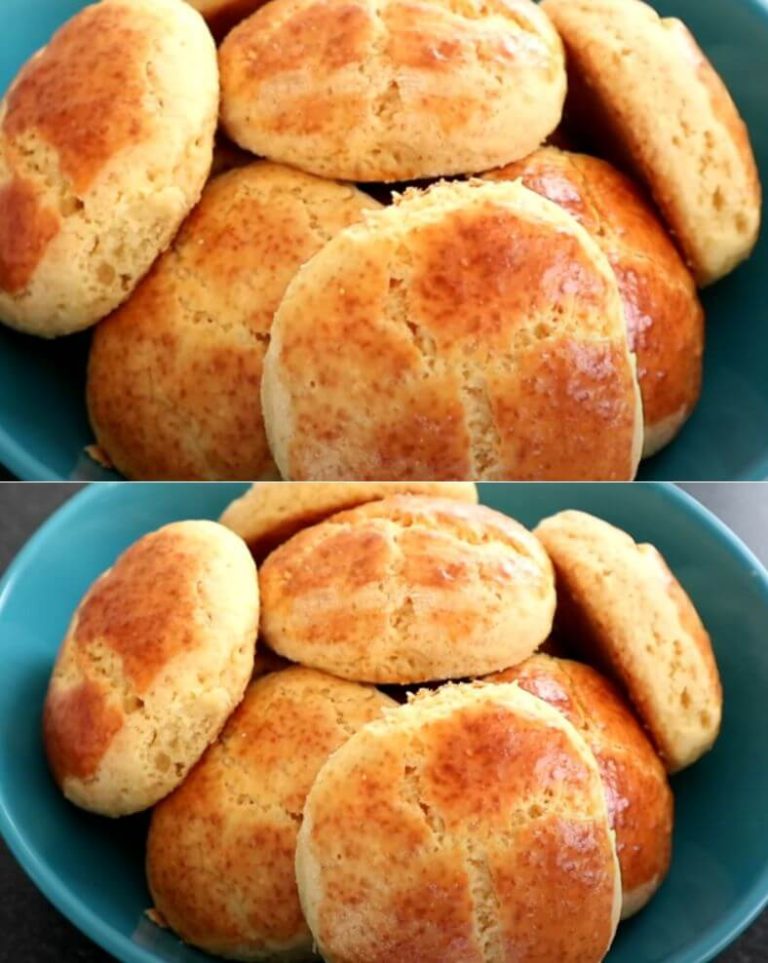
Transfer the scones to a wire rack to cool slightly before serving. Scones are best enjoyed warm, fresh from the oven, with a dollop of clotted cream and a spoonful of your favorite jam. They also pair wonderfully with a hot cup of tea or coffee.
Tips for Perfect Scones
- Use Cold Butter: Ensuring your butter is cold helps to create the flaky texture in scones. Warm butter will melt too quickly and result in dense scones.
- Do Not Overmix: Overworking the dough can develop the gluten in the flour too much, making the scones tough. Mix until just combined for the best results.
- Handle Dough Gently: When kneading and shaping the dough, handle it as gently as possible to maintain a light texture.
- Adjust Baking Time: Keep an eye on your scones as they bake. Depending on your oven, they may need a little more or less time. The key is to bake them until they are golden brown.
Conclusion
With this detailed guide, you are now equipped to bake the best soft and tasty scones right in your kitchen. By following these steps and tips, you’ll achieve scones that are tender, flavorful, and perfect for any occasion. Whether you’re serving them for afternoon tea, breakfast, or a delightful snack, these scones are sure to impress.